Now that you have your MacHighway Website Builder Onboarding process completed, you can start building your new website. You can find many guides and answers by using the Help page in your MacHighway Website Builder, but here we will go over the basics of how to use your new MacHighway Website Builder.
Sections
- Accessing your MacHighway Website Builder
- Preview and Edit mode
- The interface and menus
- Creating your new website
- Using the Clipboard (copy/paste)
- More help
Accessing your MacHighway Website Builder
If you do not known how to purchase the MacHighway Website Builder or access the service, you can check the guides below to get you started.
Purchasing the MacHighway Website Builder
Accessing your MacHighway Website Builder
Back to Top
Preview and Edit mode
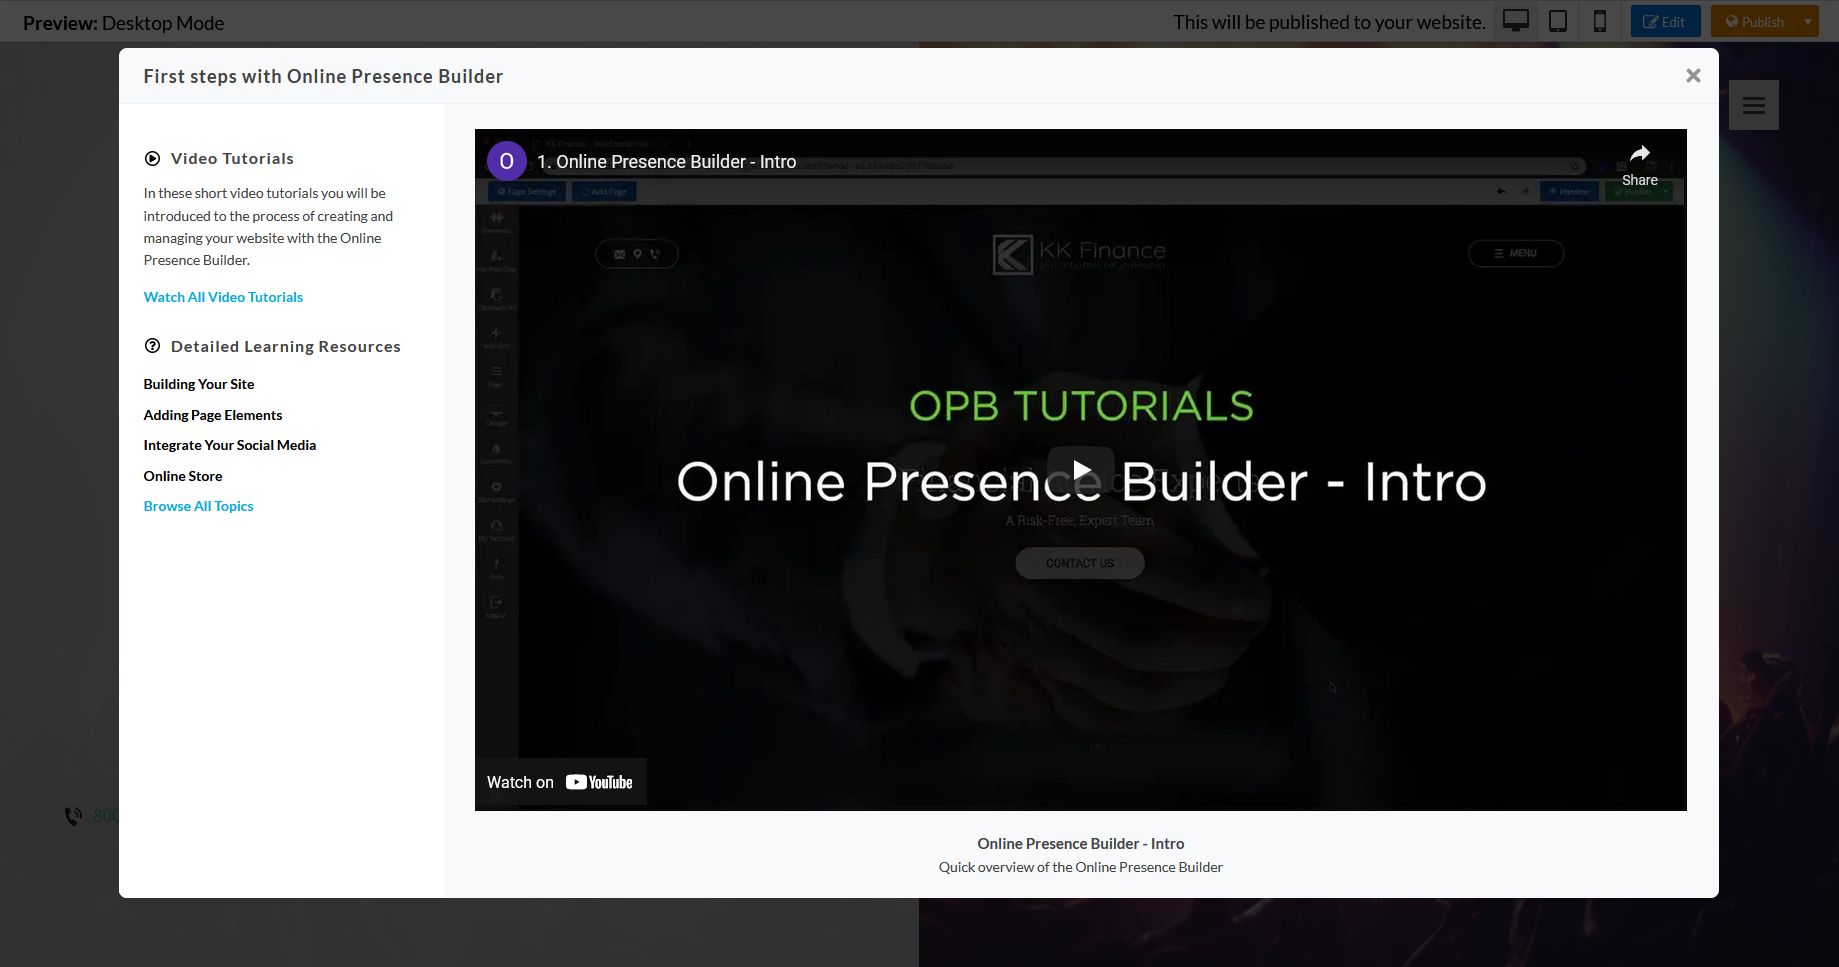
Every time you log into your MacHighway Website Builder, you will first see the First Steps popup with links to several Videos, Articles and FAQs that you can use to find more information on updating your website. There will next be a popup asking if you need to update any of your contact information. Once you click past those two pages, you will now be at your MacHighway Website Builder site builder interface.
You will see your website in the main section, with an Upper Menu Bar at the top and possibly a menu on the left and/or right, depending on if you are in Preview or Edit status. You can switch between the two using the button on the right-hand side of the screen.
Preview Menu Bar
When you are in Preview mode, you will only see the Top Menu Bar along the top of the screen. The main section of the screen will preview your website, regardless if the site is published or not.
![]()
On the left, it will show what Preview mode you are in. On the right-hand side, you will see several buttons, including the device icons, used to switch the Preview mode. You can preview your site on a desktop (iOS, iMac), tablet (iPad), or phone (iPhone). Here you can see the responsiveness of the MacHighway Website Builder on different devices.
To the right of the device icons is the Edit button that will switch you to Edit status. This will change the menu bar and add other menu bars on the left and right. More on this mode below.
Lastly, we have the Publish button. You will use this to update your live website. You can choose to publish the entire site, or only the page that you are currently working on.
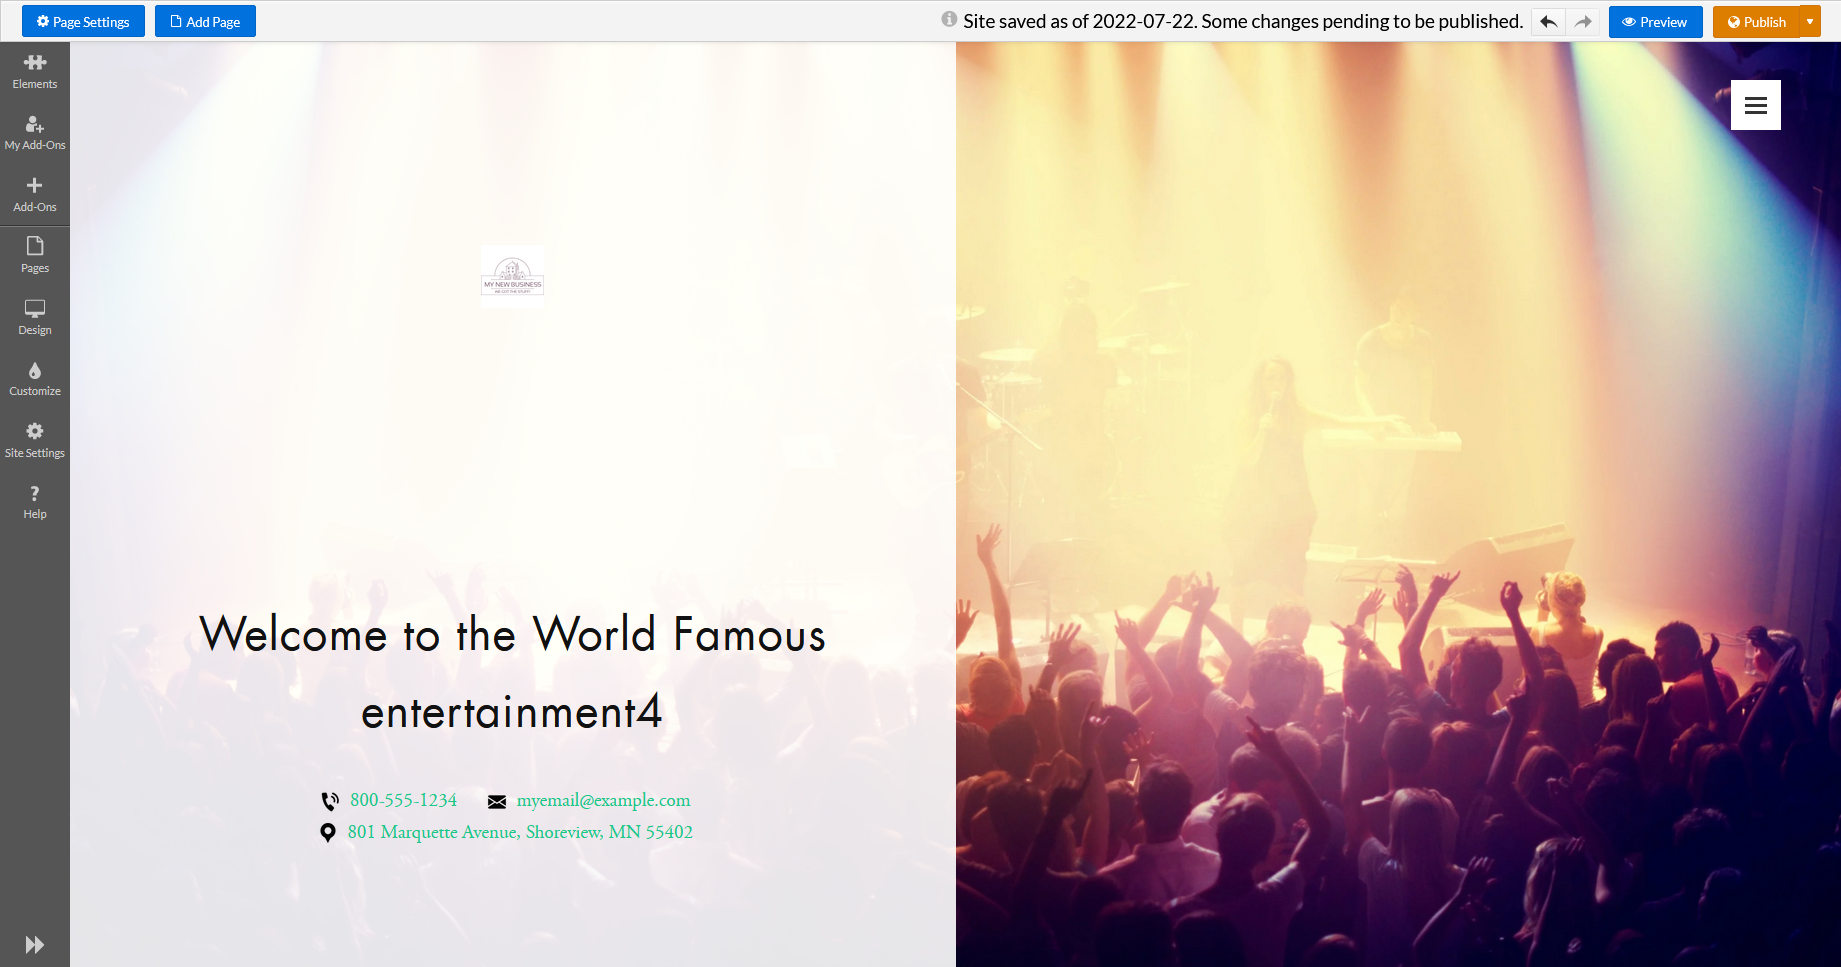
Edit Menu Bars
When you are in the Edit mode, you will see a different Top Menu Bar, as well as a menu on the left-hand side.
![]()
If you have an element selected, you will also see a menu on the right. Your website will be displayed in the main section here as well.
Page Settings
This button will open the Page Settings menu. Here you can set your page title, as well as set your keywords for the page. This will help your SEO (Search Engine Optimization) results. You can also change your page layout or password protect it.
Add Page
You can create a new page for your site by clicking the Add Page button. Choose a page type and choose a layout, name and description.
Save/Publish Information
On the right-hand side, you will see information on the last time the website was saved and published. It will also warn you if there were changes that were not published yet.
Undo/Redo Buttons
There are buttons here that will allow you to undo recent changes, or redo any undone changes.
Preview
This will switch you back to the Preview toolbar.
Publish
When you are finished with an update to your website, you will hit this button to publish it, or push it to your live site. You can use the drop down menu to choose whether you want to publish the entire site, or only the current page you are working on.
Back to Top
The interface and menus
When you are in Edit mode, you will see a menu on the left hand side of your screen, and if you have an element selected, you will see a menu on the right as well.
Left-hand Menu

The menu on the left-hand side of the screen contains many of the elements and tools that you will use to create and update your new website.
Elements
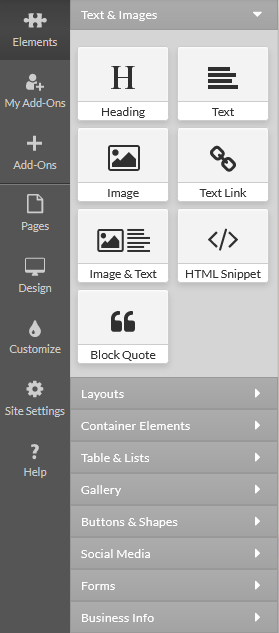
Here is were you will find all of the elements that make up your new website.
These elements can be dragged and dropped into your website to add text, images and everything else you may need to create your new website.
These elements are divided into categories to help you find the elements that you need.
Elements can be deleted from your website as easy as they are added, so feel free to try them out.
My Add-Ons
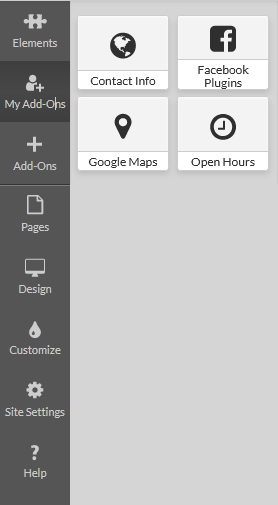
In this menu you will find some of the Special elements that you can use to build your site.
These are used in the same way as any other element, dragged and dropped.
+ Add-Ons
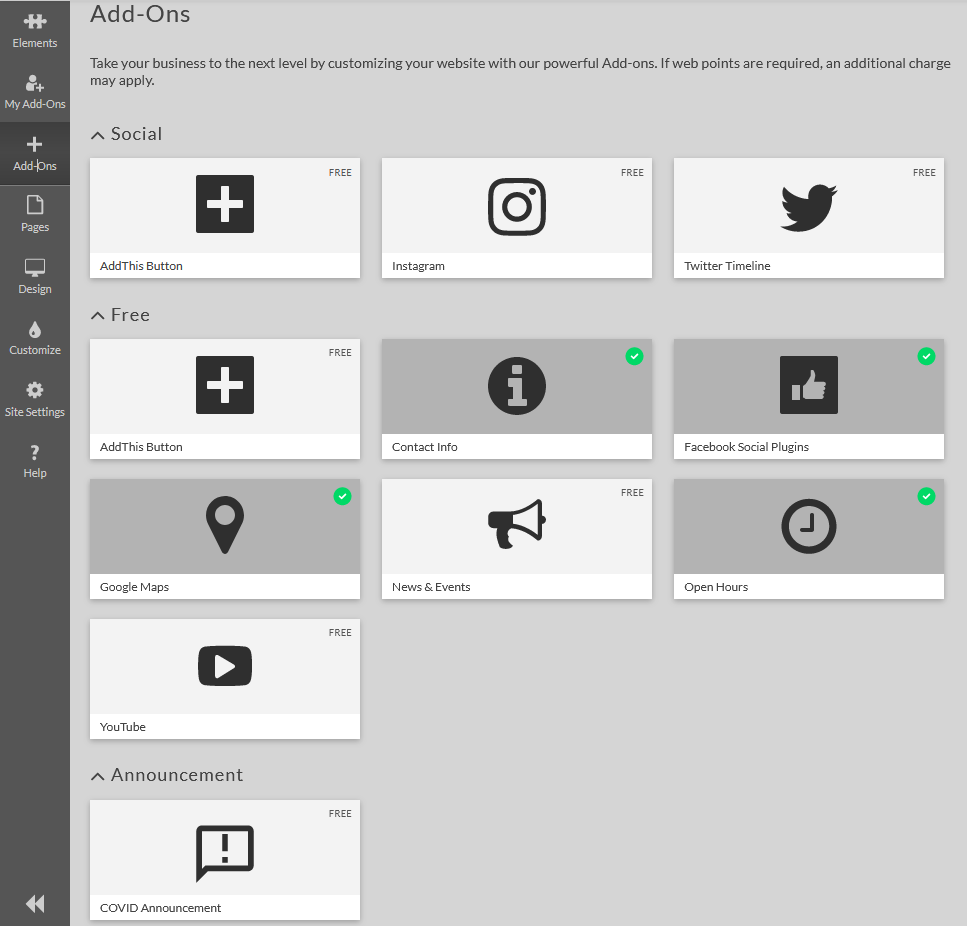
You can add addtional elements to your My Add-Ons section here.
Once you find an Add-On that you wish to use, you only need to click on the Add This Button link on the element. These Add-Ons are free of charge.
Pages
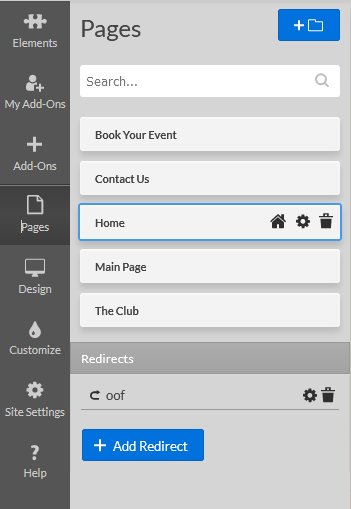
In this section, you can manage all of your website pages.
When you hover over a page, you will see icons that you will use to manage your pages.
- Globe
- Publish the page to your live site
- 404
- Set this page as the 404 error page
- This page will be displayed whenever a broken link or error is encountered.
- Folder
- Move the page to a folder (sub-directory)
- Duplicate
- Create a copy of the page
- Home
- Set this page as the Home page
- Only one page can be set as the Home page
- Settings
- Opens the same menu and the Page Settings button in the top menu.
- Allows you to edit the page name, description and keywords.
- Trash
- Delete the page
You can also create and manage page redirects from this menu. Click on + Add Redirect to create one. Enter the page name and url, and then choose whether the redirect is internal or external, and then enter the target.
Any previously created redirects will be listed and can be edited or removed.
Design
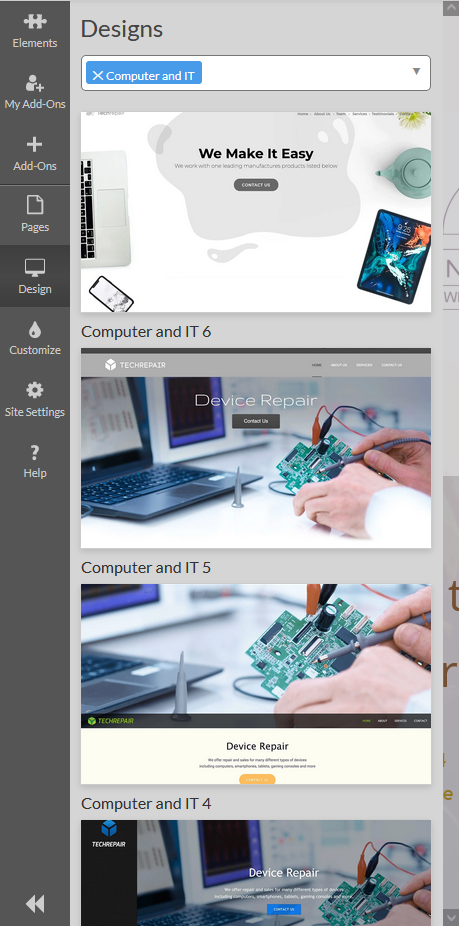
You can change your theme at anytime by selecting an new one here.
You can freely swap between any of the themes. Clicking on a new theme will show you a preview what your site will look like with the new theme. If you would like a better view of what the new theme would look like, click Live Preview to open a new tab with a preview of your live site with the new theme. Your site will not be updated until you click on the Choose Theme button, so you are free to check as many as you like.
Customize
In this section, you will find several customization for your chosen theme.

- Color Palette
- Choose a color palette that works best with your business colors or your new logo.
- Fonts (Main)
- Set your main text font
- Fonts (Titles)
- Choose a separate font for your titles
- Site Background
- Set the website background
- Site Background Ornament
- Add an ornament to the background image
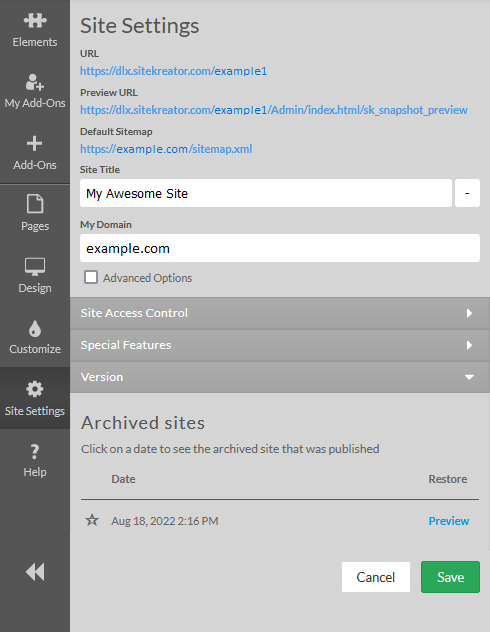
Site Settings
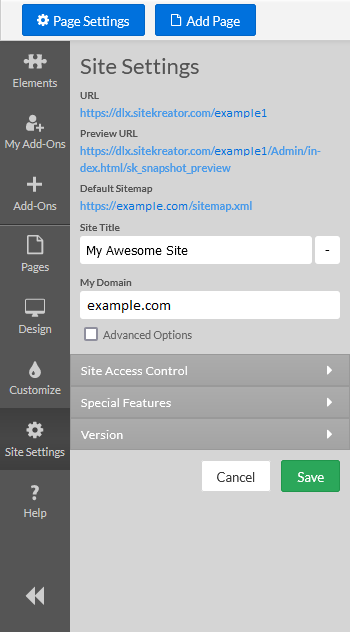
You can use this menu to set and manage your website setting.
You will also find several links that you can use to preview your website without needing to log into your client area. These are handy if you wish to share your new website with someone before you make it public.
The Site Title can be updated here as well as the Domain.
Site Access Control
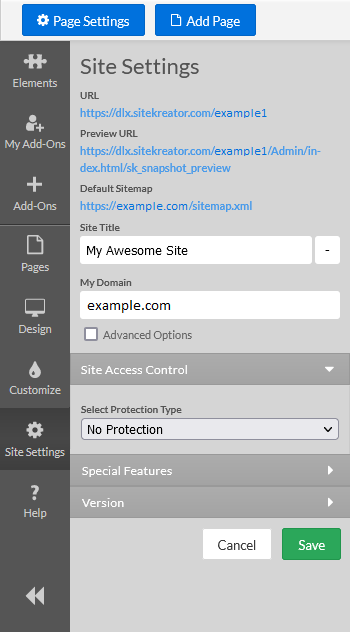
If you wish to protect your website with a password, you can set it here.
Special Features
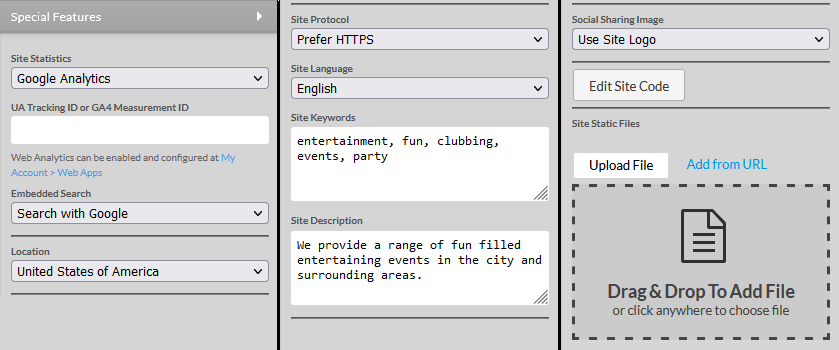
There are several options here for your website
- Site Statistics
- Enable Google Analytics to collect usage data on your site.
- This will require a Google UA number
- Embedded Search
- Enable a Google Search bar on your site.
- Location
- Set your home market
- Site Protocol
- Choose between HTTP or HTTPS (encrypted) protocols.
- HTTPS is recommended, but requires an SSL certificate.
- Site Language
- Set the default language for your site.
- Site Keywords
- Choose some keywords for your site the will help your SEO standings and help your customers find you.
- Site Description
- Write a brief description of your business and website.
- This also helps with SEO.
- Social Sharing image
- Choose an image that will be used when your site is "shared".
Version
You can save versions of your website here. This can be helpful if you ever need to roll back your site after making changes to your site. A save is created every time that you publish your website.
![]()
To restore your site using this tool, click on the Preview button next to the backup. In the upper right-hand side of the screen, you will see the option to either Return to current version or Restore. Click Restore to roll back your website.
Help
Lastly, you will see the Help menu. This will open the same First Steps popup that you will see when you first load your MacHighway Website Builder. You can watch videos or read articles on how to get the most out of your MacHighway Website Builder, or find answers to your questions. Watching these intro videos will give you a good understanding of how the builder works and how you can get the most out of it.
Right-hand Menu
The right hand menu is where you customize the currently selected element. This menu changes depending on the type of element. Here you can customize and manage the element.
Back to Top
Creating your new website
Now that you are familiar with the layout of the interface, we can start adding and editing your website. You will start with an example website that you can use as a template.
The page layout
The layout of your page is the general structure of how the page. This will determine where elements can be placed and how the page will look. Layouts also assist with making your website responsive to other devices and screen sizes. The layout helps determine how your website is displayed on different devices.
You can change the layout of the page can be changed in the Page Settings menu, accessed from either the top menu bar or the left-hand menu. You can choose to add additional elements to the base layout here as well.
The layout is mostly a starting point. You will build out your page from here. But, these layouts can help will keeping your site consistent looking.
Editing text
You can edit any text boxes simply by clicking on the box and typing. You will notice when you click on the text box that a menu will show up on the right-hand side. Here you will find all of the formatting options that you would expect with any text editor. All of the typical Shortcuts will work here as well, such as Cut (CTRL+X), Copy (CTRL+C), Paste (CTRL+V), or Undo (CTRL+Z).
If the right-hand menu is covering an element that you wish to edit, you can click on the arrow to collapse the menu.
Adding new elements
While the layout and example pages will give you a ood foundation, you will soon want to add another element to your page. A element can be anything from a picture or text block, to a video or table. There are many available elements that you can use to build your site. Too many to list them all here. Remember, you can edit your site without affecting your live site, so feel free to try them out.
To add an element to you page, you only need to open the element menu on the left-hand menu. Once you find the element the the categorized folders, simply drag the element onto your page. You will not be able to but the element anywhere on the page, but you will see bars that will show you were they can be inserted. The reason for this is for formatting on other device screens.
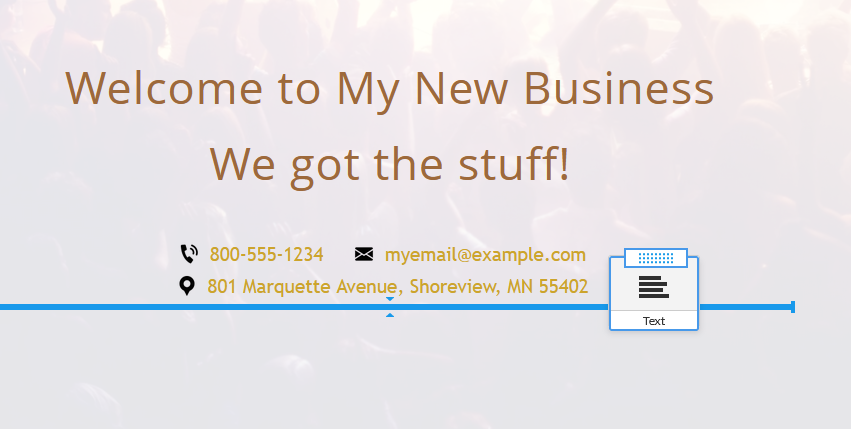
You can see the blue bar in this image. This indicates a place where the element can be placed. Drop the element on any blue line to add it to your site. The other surrounding elements will shift to make room for it.
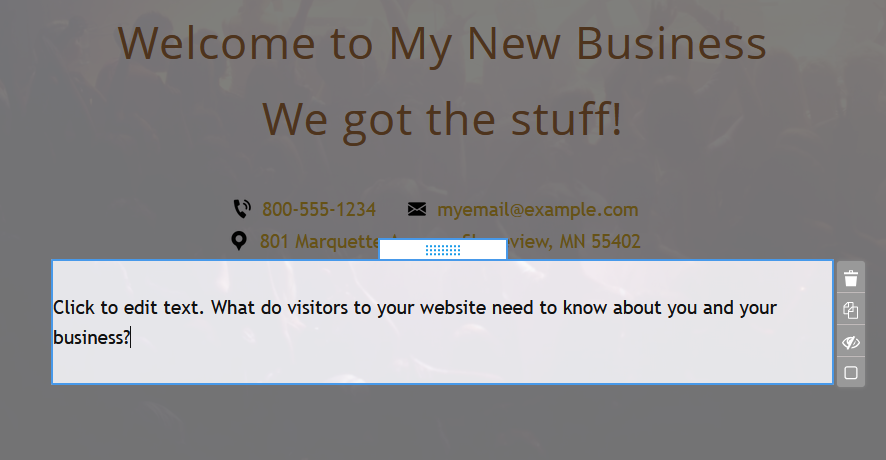
Once the element is added (a text element, in this case), you can edit it right away. You can edit the text by typing in the text box.
At the top of the box, you will see a handle that you can use to move the element to another part of the page. Click the handle and drag the element to a new home.
Along the right side of the element, you will see several icons. These icons will change, depending on the element, but typically contact options to Delete (trash can), Duplicate (two pages), Hide (eye) or a check box to select the element for bulk options.
When editing a text element, you will notice that the menu on the right-hand side has common text options. Using this menu, you can create all of your headings and links, You can even add inline items and change the font and text colors.
While other elements will have different options available, the process for adding, editing and maintaining any element is the same, This includes any elements found under the My Addons section.
Back to Top
Using the Clipboard (copy/paste)
On the right hand side of any element that has already been added to your website, you will see several icons. One will look like two pages. This is the Copy button.
![]()
When you click on Copy, a new Item will show up on the left hand menu. This is the Clipboard.
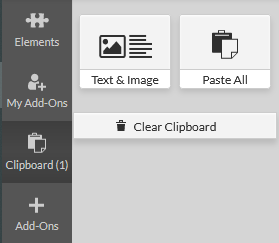
Clicking on the Clipboard will show all of the elements that you have copied previously. Now, you can simply drag the element to a new part of your site as you would with any new element.
Back to Top
More help
You can find more guides and articles by clicking on the Help button in the left-hand menu. You will find video, guides and FAQs for common issues and questions.
Back to Top
Still Having Issues?
If you are still having issues, you can contact our Customer Support in the following methods:
Live Chat
You can connect to our Live Chat Support Team from your MacHighway Client Area. If you are not sure how to do this, you can find a guide here.
Our Live Chat team is available Monday to Friday from 9:00 AM to 7:00 PM Eastern Time.
Support Ticket
You can submit a support ticket to our Support Team from your client area.
Our ticket Support Team is available 24/7/365.
Phone support
You can contact our Phone Support Team using the following number:
- US/Canada 1-888-974-0334
- International 1-727-800-3606
Our Phone Support team is available Monday to Friday from 9:00 AM to 7:00 PM Eastern Time.
